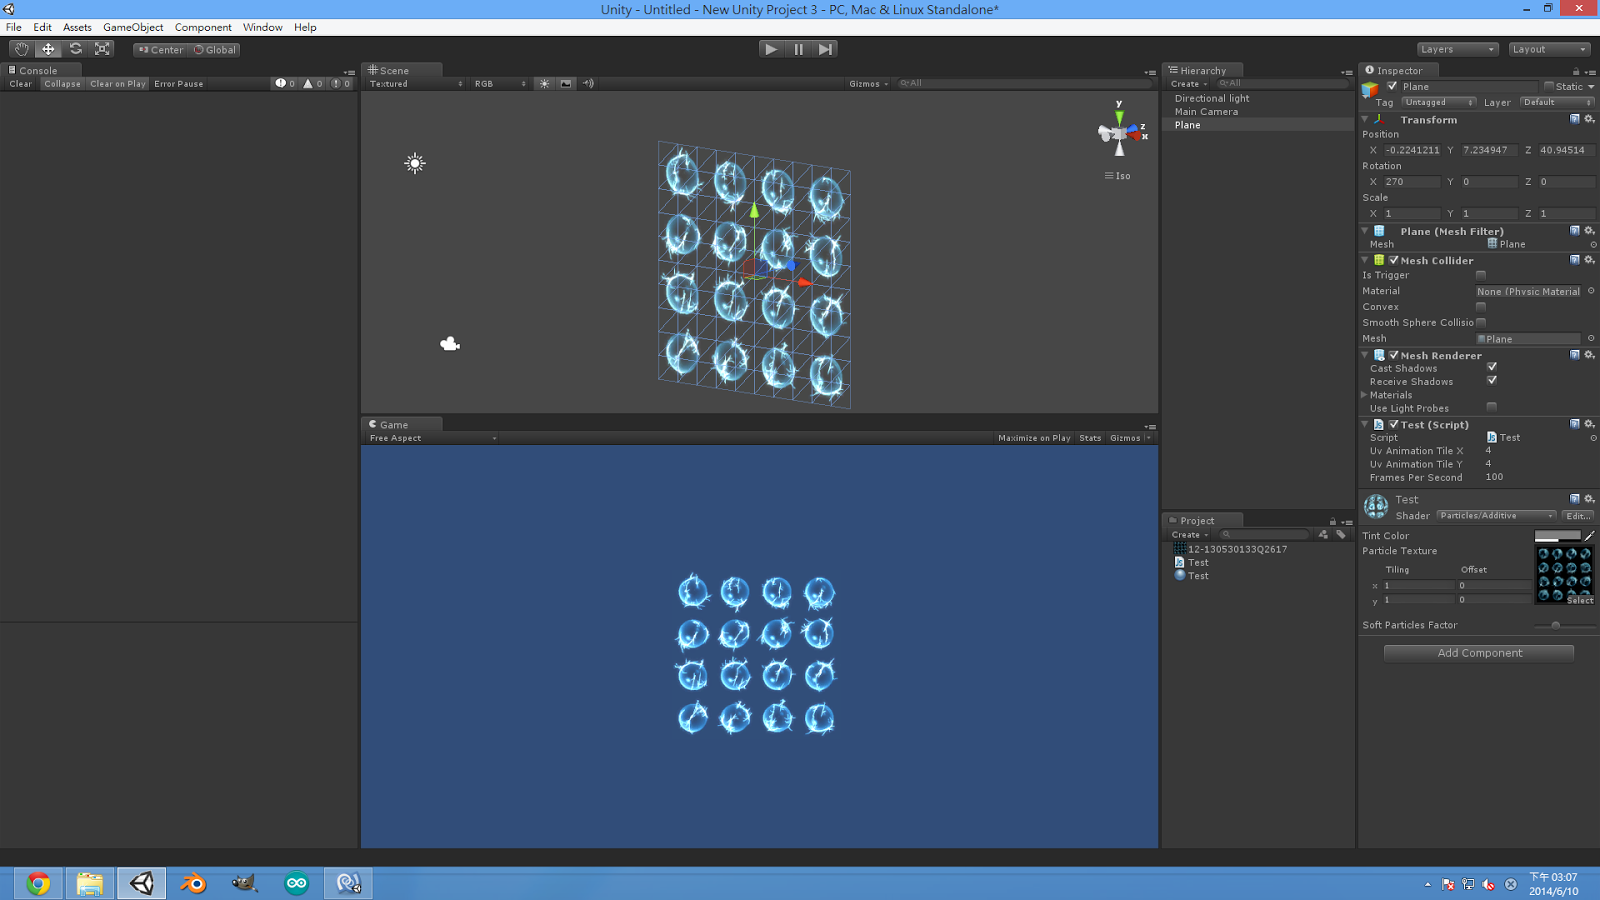
2014年12月22日 星期一

Unity canvas 畫線

結果圖:

Unity Web Player | New Unity Project
----------------------------------------------------------------------------------
這裡我先用javaScript 呈現,C# 出了一些很嚴重的CanVas的問題。


OpenString 腳本(按鈕控制) :

#pragma strict


var locked : boolean = true;

var colorNumberSw : int = 0;


function OnGUI(){

if(GUI.Button(Rect(Screen.width/Screen.width, Screen.height/Screen.height, 100, 50),"Open canvas")){
locked = !locked;
}
if(GUI.Button(Rect(Screen.width/Screen.width, Screen.height/Screen.height + 60, 100, 50),"Red")){
colorNumberSw = 1;
}
if(GUI.Button(Rect(Screen.width/Screen.width, Screen.height/Screen.height + 120, 100, 50),"Green")){
colorNumberSw = 2;
}
if(GUI.Button(Rect(Screen.width/Screen.width, Screen.height/Screen.height + 180, 100, 50),"Yellow")){
colorNumberSw = 3;
}
if(GUI.Button(Rect(Screen.width/Screen.width, Screen.height/Screen.height + 240, 100, 50), "Return Game")){
Application.LoadLevel("CanVasTest");
}
if(GUI.Button(Rect(Screen.width/Screen.width, Screen.height/Screen.height + 300, 100, 50), "Exit Game")){
Application.Quit();
}
}


--------------------------------------------------------------------

Driver (畫線啟動腳本) :

#pragma strict


 private var cc : canvas;


// private var locked : boolean = true;
 var testopenString : OpenString;


 // get the size of the screen

 private var pixels = Screen.width * Screen.height;

 // create a color array
 private var colors = new Color[pixels];

 private var pencolor = Color.black;

 // counter is used to avoid setting pixels on each onGUI call
 private var counter = 101;

 // last detected mouse position
 private var lastpos : Vector2;

 private var reset : boolean = true;

 function Start() {

     cc = GetComponent(canvas);

     // fill color array with a BG color
     for (var i = 0; i < pixels; i++) {
         colors[i] = Color(1.0, 1.0, 1.0, 0.45); // Color.white; // canvasBackground.GetPixel(0, 0);
     }

 }

 function Update() {

  if(testopenString.colorNumberSw == 1)pencolor = Color.red;
  if(testopenString.colorNumberSw == 2)pencolor = Color.green;
  if(testopenString.colorNumberSw == 3)pencolor = Color.yellow;

     if (testopenString.locked) {
         cc.draw = false;
         return;
     }
     
     cc.draw = true;

     // mouse 0 'paints'
     if (Input.GetMouseButton(0)) {

         var currpos : Vector3 = Input.mousePosition;

         if (reset) {
             reset = false;
             lastpos = currpos;
         }

         line(lastpos.x, lastpos.y, currpos.x, currpos.y);
         lastpos = currpos;

         counter++;

         if (counter > 3) {

             counter = 0;

             cc.setColors(colors);
         }

     } else {
         reset = true;
     }
 }

 // Bresenham's line algorithm
 function line(x0 : int, y0 : int, x1 : int, y1 : int) {
     var dx = Mathf.Abs(x1 - x0);
     var dy = Mathf.Abs(y1 - y0);
     var sx = (x0 < x1) ? 1 : -1;
     var sy = (y0 < y1) ? 1 : -1;
     var err = dx - dy;
     while (true) {

         // Do what you need to for this
         // setPixel(x0,y0);
         colors[x0 + Screen.width * y0] = pencolor;

         if ((x0 == x1) && (y0 == y1))
             break;
         var e2 = 2 * err;
         if (e2 > -dy) {
             err -= dy;
             x0 += sx;
         }
         if (e2 < dx) {
             err += dx;
             y0 += sy;
         }
   
     }
 }

------------------------------------------------

Canvas (畫佈 設定 腳本) :

#pragma strict


 public var draw : boolean = false;

 private var canvasBackground : Texture2D;
 canvasBackground = new Texture2D(Screen.width, Screen.height);

 var width : int;
 var height : int;

 // initialize the canvas


 function setColors(newColors:Color[]) {
     canvasBackground.SetPixels(newColors, 0); 
     canvasBackground.Apply(false);
 }

 function OnGUI() {

     if (!draw)
         return;
         
     GUI.Box(Rect(0, 0, canvasBackground.width-width, canvasBackground.height-height), "");
     GUI.skin.box.normal.background = canvasBackground;

 }


2014年12月9日 星期二

Unity 計時器 Damo

結果呈現:


--------------------------------------------------------------------------------------------
發射物件:

using UnityEngine;
using System.Collections;

public class Fire : MonoBehaviour
{
int timer_i = 0;
public GameObject fireGameonbjcet;
public int fireSw;
// Update is called once per frame
void time4 ()
{
if (fireSw == 1) {
Debug.Log ("1");
timer_i += 1;
Instantiate (fireGameonbjcet, transform.position, transform.rotation);
}
}
void Start ()
{
InvokeRepeating ("time4", 1f, 2f);
}

void OnGUI ()
{
if (Input.GetKeyDown (KeyCode.Alpha1)) {
fireSw = 1;
} else if (Input.GetKeyDown (KeyCode.Alpha2)) {
fireSw = 2;
}
if (fireSw == 2) {
GUI.Label(new Rect(Screen.width/Screen.width, Screen.height/Screen.height, 400 ,50),"請案下數字鍵 1: 自動生產物件");
if (Input.GetMouseButtonDown(0)) {
Instantiate (fireGameonbjcet, transform.position, transform.rotation);
}
}else if(fireSw == 0){
GUI.Label(new Rect(Screen.width/Screen.width, Screen.height/Screen.height, 400 ,50),"請案下數字鍵 1: 自動生產物件,2: 滑鼠左鍵生產物件");
}else if(fireSw == 1){
GUI.Label(new Rect(Screen.width/Screen.width, Screen.height/Screen.height, 400 ,50),"請案下數字鍵 2: 滑鼠左鍵生產物件");
}
}
}

--------------------------------------------------------------------------------------------
物件行為:

using UnityEngine;
using System.Collections;

public class GameobjectTest : MonoBehaviour {
public float speed;
// Update is called once per frame
void Update () {
transform.Translate(-Vector3.forward * Time.deltaTime * speed);
Destroy(gameObject, 2f);
}
}


2014年8月25日 星期一

計時器搭配物件旋轉

Unity Web Player | New Unity Project


製作圖片:

---------------------------------------------------------------------------------

程式部分 :

螺旋槳腳本:

using UnityEngine;
using System.Collections;

public class Test : MonoBehaviour {

public float speed = 0f;

float timer_f;
int timer_i;

// Update is called once per frame
void Update () {

timer_f = Time.time;
timer_i = Mathf.FloorToInt (timer_f);

Debug.Log (timer_i);

if(timer_i != 0){

transform.Rotate(Vector3.up * Time.deltaTime * speed);

speed += 1;

}
if(speed >= 800){
speed = 800;
transform.Rotate(Vector3.up * Time.deltaTime * speed);
}
}

void OnGUI(){
if(GUI.Button(new Rect(Screen.width/Screen.width, Screen.height/Screen.height, 100, 50),"return")){
Application.LoadLevel("AAABBB");
}
}
}

攝影機腳本:

var target : Transform;
var distance = 10.0;

var xSpeed = 250.0;
var ySpeed = 120.0;

var yMinLimit = -20;
var yMaxLimit = 80;

private var x = 0.0;
private var y = 0.0;

@script AddComponentMenu("Camera-Control/Mouse Orbit")

function Start () {
    var angles = transform.eulerAngles;
    x = angles.y;
    y = angles.x;

// Make the rigid body not change rotation
    if (GetComponent.<Rigidbody>())
GetComponent.<Rigidbody>().freezeRotation = true;
}

function LateUpdate () {
    if (target) {
        x += Input.GetAxis("Mouse X") * xSpeed * 0.02;
        y -= Input.GetAxis("Mouse Y") * ySpeed * 0.02;
 
  y = ClampAngle(y, yMinLimit, yMaxLimit);
        
        var rotation = Quaternion.Euler(y, x, 0);
        var position = rotation * Vector3(0.0, 0.0, -distance) + target.position;
        
        transform.rotation = rotation;
        transform.position = position;
    }
}

static function ClampAngle (angle : float, min : float, max : float) {
if (angle < -360)
angle += 360;
if (angle > 360)
angle -= 360;
return Mathf.Clamp (angle, min, max);
}

2014年8月14日 星期四

Unity 滑鼠控制角色移動 - 射線及Animator 動畫控制方法

Unity Web Player | New Unity Project

匯入模型後請把RIG 按鈕底下 Animation type 選擇 Humanoid 在按下Apply。


再Project 視窗按下右鍵建立 Animator Controller ,在點兩下就會進入Animator 
編輯視窗。

把模型動畫以動作邏輯順序方式拖曳進去Animator 編輯視窗。


再動畫編輯區塊按下右鍵選擇Make Transitionm,會出現
箭頭再指向另一個動畫編輯區塊。

※ 注意: 箭頭方向一定要注意動畫編輯區塊的正確位置。
  箭頭方向位置表示動畫撥放的動畫區塊。


之後再Parameters 視窗 點選上面的" + " 這個符號,
再選擇所需的程式控制的基本型別,選完型別後
把型別視窗命名。

※注意: 在這裡我使用Boolean 型別 程式控制:  SetBool。
Float 型別 程式控制: SetFloat。                
Int 型別 程式控制: SetInteger。                 
Trigger 類型 程式控制: SetTrigger。           
               命名很重要 程式控制的地方及數值,特別注意。        
     

再點選箭頭後,旁編列會出現箭頭所需編輯視窗。
Condition 屬性視窗選擇,型別命名名稱,再調整所需數值。

※注意: Condition 屬性視窗的數值,由程式撰寫那邊控制設定。


角色屬性設定呈現方式:
以看圖方式呈現。


--------------------------------------------
程式部分:

角色控制類別:

using UnityEngine;
using System.Collections;

public class TestPlayerAnimation : MonoBehaviour {

public float speed;
public CharacterController playerController;

private Vector3 position;

public Animator playerAnimation;

// Use this for initialization
void Start () {
position = transform.position;
playerAnimation.GetComponent<Animator> ();
}
// Update is called once per frame
void Update () {
if (Input.GetMouseButtonDown (0)) {
locatePotation();
}
moveToPosition ();
}
void locatePotation(){

RaycastHit hit;
Ray ray = Camera.main.ScreenPointToRay (Input.mousePosition);

if(Physics.Raycast(ray, out hit, 1000)){
position = new Vector3(hit.point.x, hit.point.y, hit.point.z);
}
}
void moveToPosition(){

if(Vector3.Distance(transform.position, position)>3){

Quaternion newRotation = Quaternion.LookRotation (position - transform.position, Vector3.forward);

newRotation.x = 0f;
newRotation.z = 0f;

transform.rotation = Quaternion.Slerp(transform.rotation, newRotation, Time.deltaTime * 10);
playerController.SimpleMove(transform.forward * speed);

playerAnimation.SetBool("Test",true);
Debug.Log("ok");
}else{
playerAnimation.SetBool("Test",false);
                        Debug.Log("no");
}
}
}

攝影機類別:

// The target we are following
var target : Transform;
// The distance in the x-z plane to the target
var distance = 10.0;
// the height we want the camera to be above the target
var height = 5.0;
// How much we 
var heightDamping = 2.0;
//var rotationDamping = 3.0;

// Place the script in the Camera-Control group in the component menu
@script AddComponentMenu("Camera-Control/Smooth Follow")


function LateUpdate () {
// Early out if we don't have a target
if (!target)
return;
// Calculate the current rotation angles
//var wantedRotationAngle = target.eulerAngles.y;
var wantedHeight = target.position.y + height;
var currentRotationAngle = transform.eulerAngles.y;
var currentHeight = transform.position.y;
// Damp the rotation around the y-axis
// currentRotationAngle = Mathf.LerpAngle (currentRotationAngle, wantedRotationAngle, rotationDamping * Time.deltaTime);

// Damp the height
currentHeight = Mathf.Lerp (currentHeight, wantedHeight, heightDamping * Time.deltaTime);

// Convert the angle into a rotation
// var currentRotation = Quaternion.Euler (0, currentRotationAngle, 0);
// Set the position of the camera on the x-z plane to:
// distance meters behind the target
transform.position = target.position;
// transform.position -= currentRotation * Vector3.forward * distance;
transform.position -= Vector3.forward * distance;

// Set the height of the camera
transform.position.y = currentHeight;
// Always look at the target
transform.LookAt (target);
}


2014年6月10日 星期二

Textrue Animation Script (JavaScript)

Unity Web Player | New Unity Project 3

視圖 : 


Button (c#)腳本 :

using UnityEngine;
using System.Collections;

public class ButtonLouout : MonoBehaviour {
public float textrueAnimationWidth, textrueAnimationHeight, layoutWidth, layoutHeight;
private string textrueName = "Entner Textrue";
private int number = 1;
public GameObject textrueAnimationn;

void OnGUI(){
if(number == 1)textrueAnimationn.active = false;
if(GUI.Button (new Rect(Screen.width/layoutWidth, Screen.height/layoutHeight, textrueAnimationWidth, textrueAnimationHeight),textrueName)){
number +=1;
if(number % 2 == 0){
textrueAnimationn.active = true;
}else if(number % 2 != 0)
textrueAnimationn.active = false;
}
}
}

---------------------------------------------------------------------------

textrueAnimation (javaScript) 腳本:

#pragma strict

var uvAnimationTileX = 24; //Here you can place the number of columns of your sheet. 
                           //The above sheet has 24
var uvAnimationTileY = 1; //Here you can place the number of rows of your sheet. 
                          //The above sheet has 1
var framesPerSecond = 10.0;
function Update () {
        // Calculate index
        var index : int = Time.time * framesPerSecond;
        // repeat when exhausting all frames
        index = index % (uvAnimationTileX * uvAnimationTileY);
        // Size of every tile
        var size = Vector2 (1.0 / uvAnimationTileX, 1.0 / uvAnimationTileY);
        // split into horizontal and vertical index
        var uIndex = index % uvAnimationTileX;
        var vIndex = index / uvAnimationTileX;
        // build offset
        // v coordinate is the bottom of the image in opengl so we need to invert.
        var offset = Vector2 (uIndex * size.x, 1.0 - size.y - vIndex * size.y);
        renderer.material.SetTextureOffset ("_MainTex", offset);
        renderer.material.SetTextureScale ("_MainTex", size);
}